Yes I know. This isn’t technically baking and this is meant to be a blog all about baking. In my defence though you could use this jam in lots of different baking recipes like Jo Wheatley’s almond and plum slices or as I plan to as part of a filling in a Victoria sandwich.
It was recently the first anniversary of moving in to our house. When we first moved in we could see we had a fruit tree but had no idea what kind of fruit tree it was. As summer approached it became clear that instead of an apple or pear tree it was some kind of stoned fruit. It turned out to be a plum tree. The plums were yellow in colour rather than the traditional purple – I have no idea of their exact variety. They suddenly all seemed to ripen at the same time and I didn’t want to see them go to waste so needed something to do with them. I was tempted to get baking but instead decided it make jam. I’ve never made jam before so it was a new experience. I made this on the same day as my classic sourdough so was feeling very proud of myself by the end of the day.
I found the recipe on a blog via Pinterest. I made half the quantity as I was limited by the number of plums I had. The jam tastes lovely (even if I do say so myself!) and I’m looking forward to using it. I made one large jar full. You will need to sterilise your jars beforehand. This guide from the BBC Good Food website explains what you need to do.
Ingredients:
750 grams yellow plums
50 millilitres cold water
750 grams granulated sugar
1/2 tablespoon lemon juice
1 vanilla pod – cut and scraped
14 grams unsalted butter
Method:
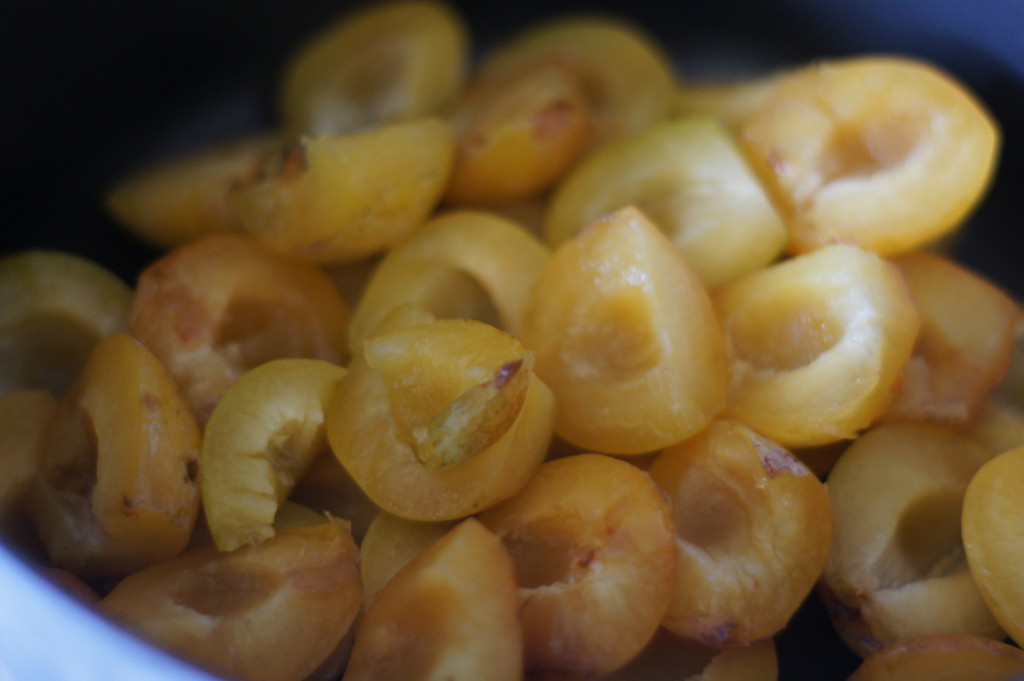
1) Cut the plums in half and take the stones out. Place them in a large pan and add the water and bring to the boil over a medium heat.
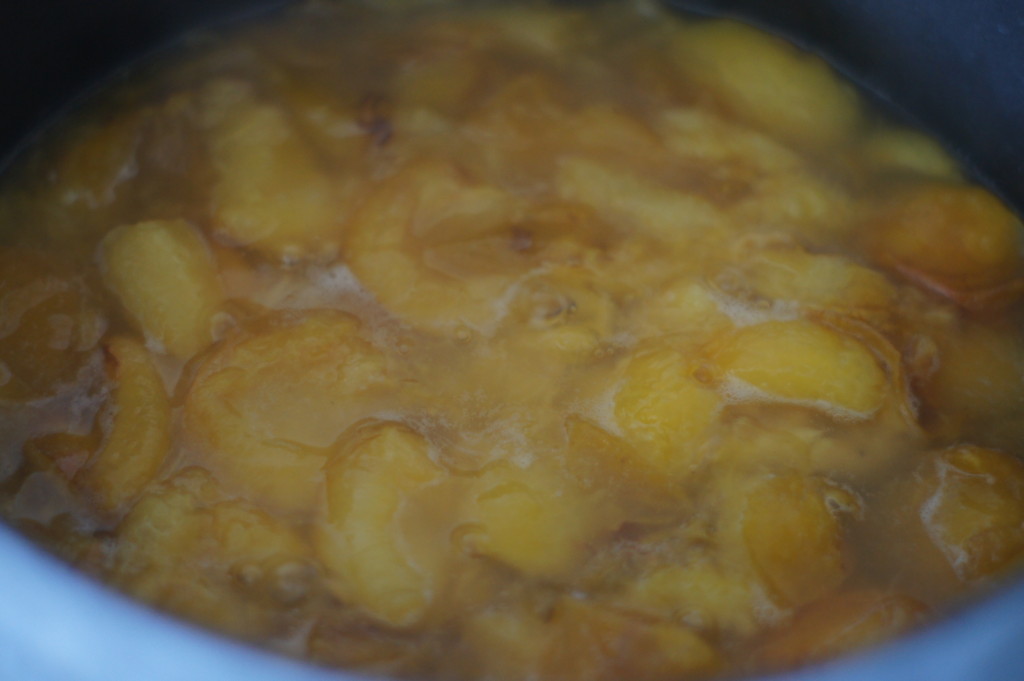
2) Once boiling, reduce the heat and allow the pan to simmer for 40 minutes so the fruit can soften. Stir occasionally.
3) Once the fruit has softened you will need to add the sugar and lemon juice. Keep stirring until the sugar is fully dissolved.
4) Then split your vanilla pod and scrape out the seeds and add them to the fruit. Cut the empty pod in half and add this to the fruit also.
5) Add the butter and mix it in (this will help keep the foaming and frothing down during the high temperatures).
6) Continue stirring until the jam reaches setting point 220F/104C (using a thermometer if you have one). If you don’t have a thermometer you can gauge this because the jam will start to stick to the sides of the pan.
7) Once the jam reaches temperature, or the jam is starting to stick to the sides of the pan and your wooden spoon it is time to test it to see if it is ready. Take the pan off the heat and place a small amount of the jam on a small cold plate and allow it to go cold. Once it is cold run your finger through it, if it is set the jam will wrinkle if you feel it is too runny place the pan back on the heat and boil again for a few minutes and try the test again.
8) Once ready remove from the heat and carefully pour into clean, warm sterilised jam jars. If you see any air bubbles remove them. Seal and label the jars while they are still warm. Allow them to cool completely then store.


