I entered the Great British Bake Off this year – sadly I never heard anything (although after seeing some of the challenges they’re facing this year this is probably a good thing!). When you enter you have to fill in quite an extensive form which asks you about all the different things you’ve made and any successes and failures. One thing it did highlight to me was the areas of baking I’m less experienced in – baking bread being one of them. In this months BBC Good Food magazine there is a feature all about baking bread which is very helpful and highlights all the benefits of making your own bread such as cost, it not being full of preservatives and most importantly taste! This recipe is from the feature. I’ve made a couple of bread-based things before but I’ve decided I definitely need to try out more bread recipes. I’ve currently got a sourdough starter bubbling away which will I’ll share in a future post.
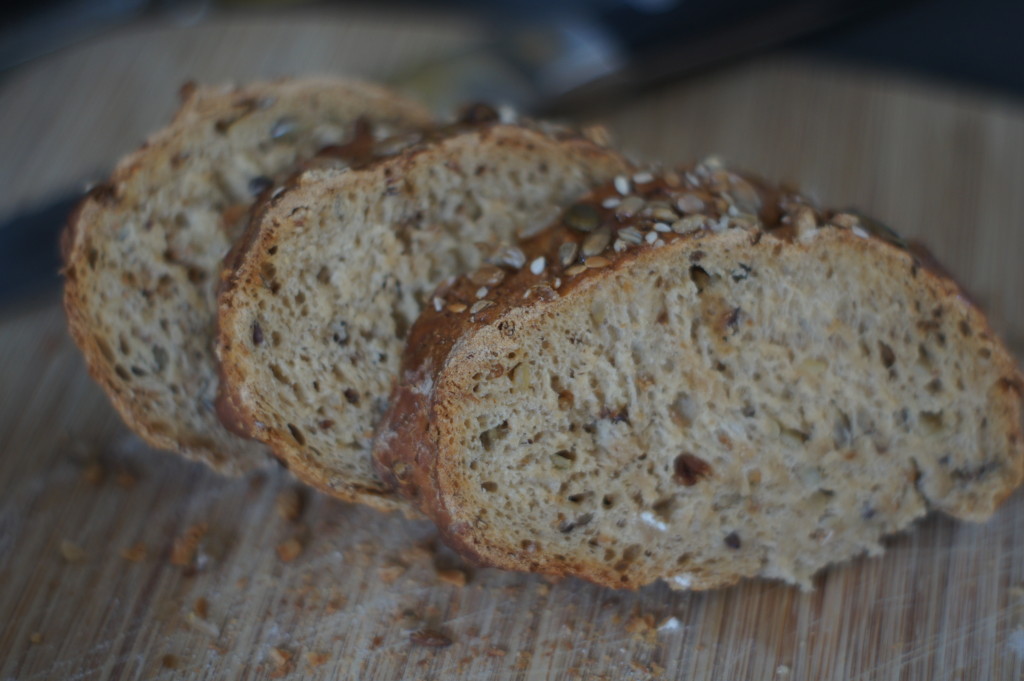
This was meant to be a cottage loaf but as you will see from the photos my loaf didn’t quite look right and ended up lopsided and looking a little bit like a turtle! Despite appearances I was very proud of my first proper loaf. I was definitely pleased with how good the bread tasted (it was properly cooked with a good crunchy crust) and smelt. It was torture having to wait for it to cook! Given how easy it was to make the dough in the evening, leave it proving overnight and then to cook in the morning I am now considering making bread for the weekend a regular event in the Little Birdie household.
Ingredients:
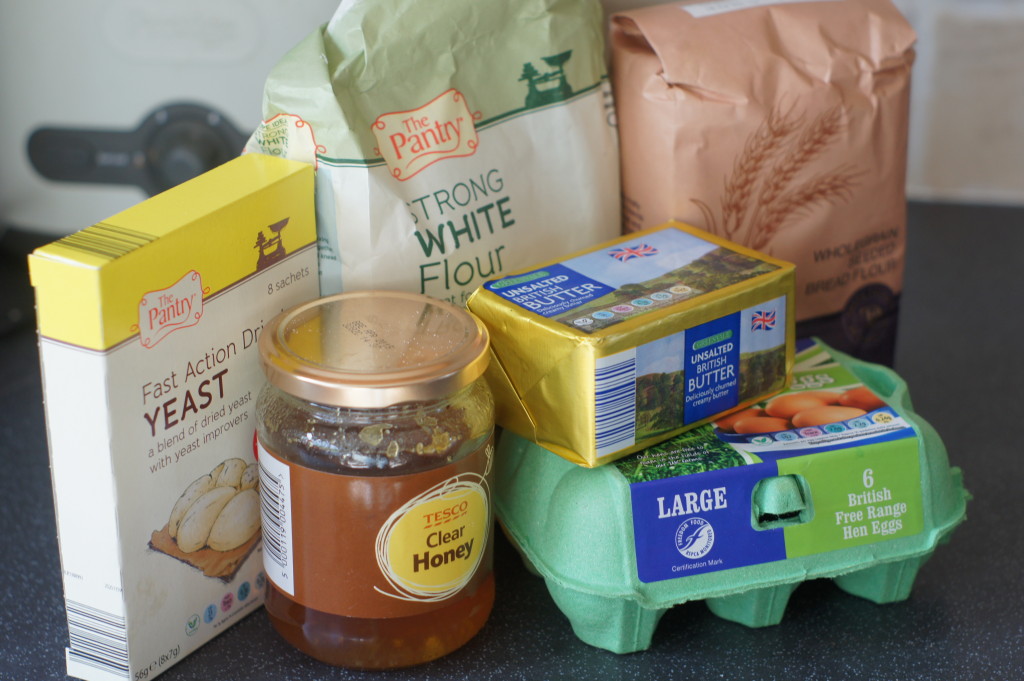
25g butter (cut into cubes)
2 tablespoons clear honey
400g seed & grain bread flour
100g strong white bread flour
7g sachet or 1½ tsp fast-action dried yeast
1 egg (beaten)
mixed seeds (e.g. sunflower, sesame, pumpkin and linseeds)
Method:
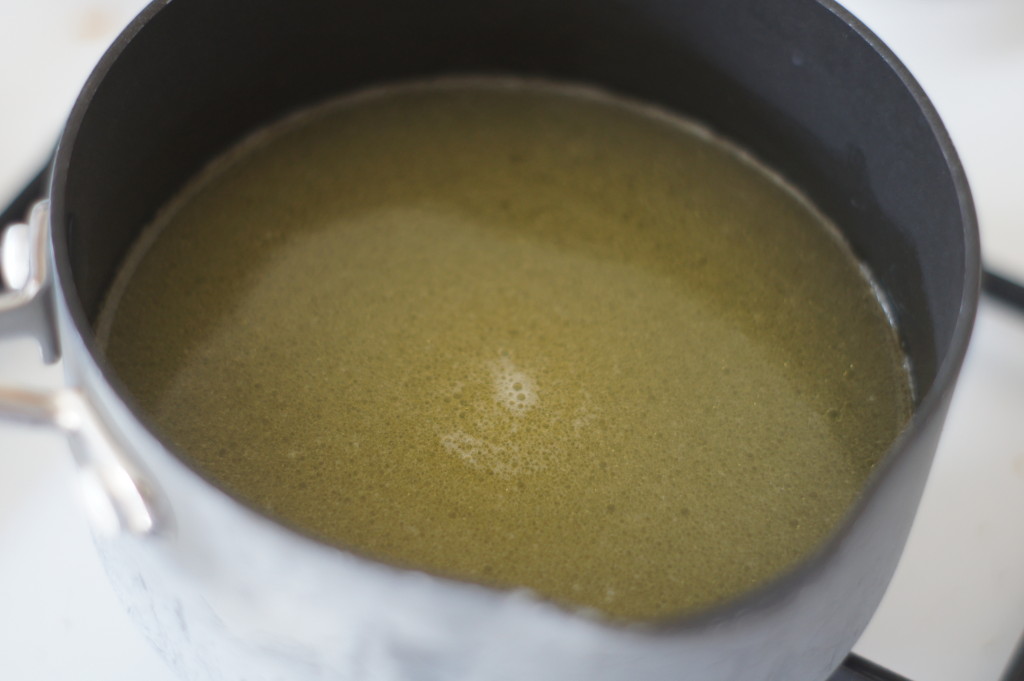
1) Heat the butter, honey and 300ml water in a saucepan. Set aside to cool to hand temperature.
2) Mix the flours, yeast and 1½ teaspoons salt in a bowl. Pour in the warm liquid and mix with a wooden spoon, then with your hands. Tip onto your work surface and knead for 10 mins or until springy.
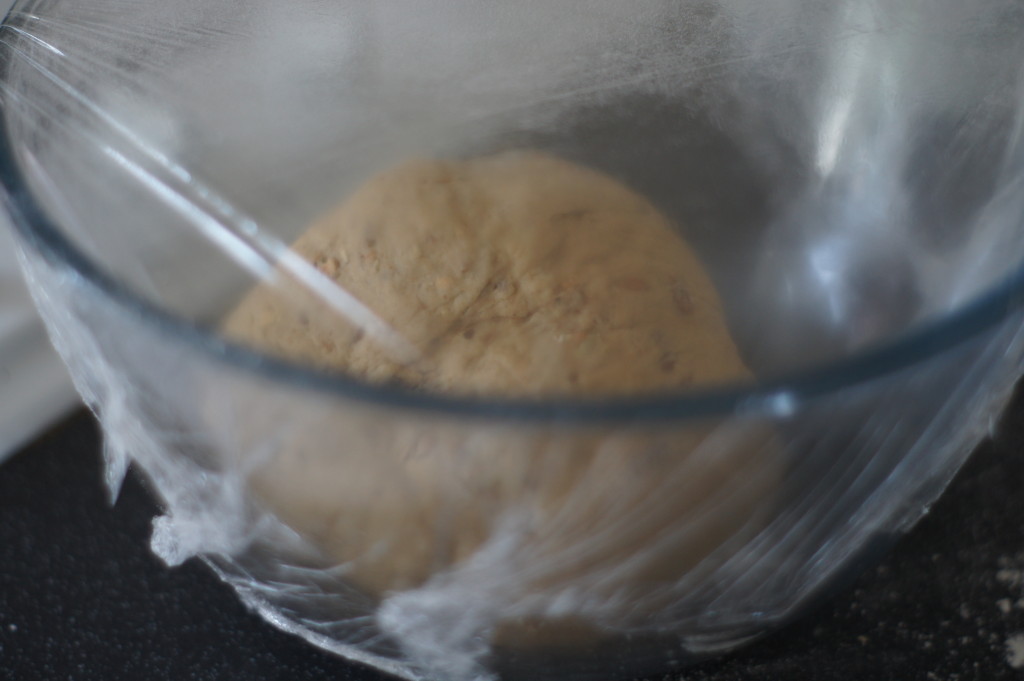
3) Place in a lightly oiled bowl, cover with oiled cling film and leave somewhere warm to rise for 2 hrs or until doubled in size. (You can leave it in the fridge which is what I did – this gives a slower rise which helps a more yeasty flavour develop apparently!)
4) When your dough has risen flour a large baking tray. Tip the dough onto your work surface and knead to knock out the air bubbles (if your dough has been in the fridge allow it to come to room temperature before doing this). Remove ¼ of the dough so that you have 2 pieces. Shape both pieces of dough into smooth balls, put the large one on the baking tray then sit the smaller ball on top. Using a well-floured handle of a wooden spoon, push through the centre of the 2 balls of dough to stick them together. Cover with oiled cling film and leave to rise for about 45 mins or until doubled in size.
5) Heat oven to 220C/200C fan/Gas 7 and put a cake tin on the bottom shelf, with an empty shelf directly above for the bread.
6) Remove the cling film from the bread. Brush all over with the egg, then sprinkle generously with seeds. Slash the edges of the loaf a few times with a sharp knife to create a pattern.
7) Open the oven and pour a cup full of water into the cake tin – this will create steam and give the loaf a crisp crust. Put the bread on the empty shelf and bake for 20 minutes (you’re house will smell amazing and if like me you’re hungry it’s little bit like torture!), then turn the oven down to 180C/160C fan/Gas 4 and bake for another 30 minutes until crisp and hollow-sounding when tapped on the base. Remove from the oven and cool on a wire rack for at least 30 mins before eating.


