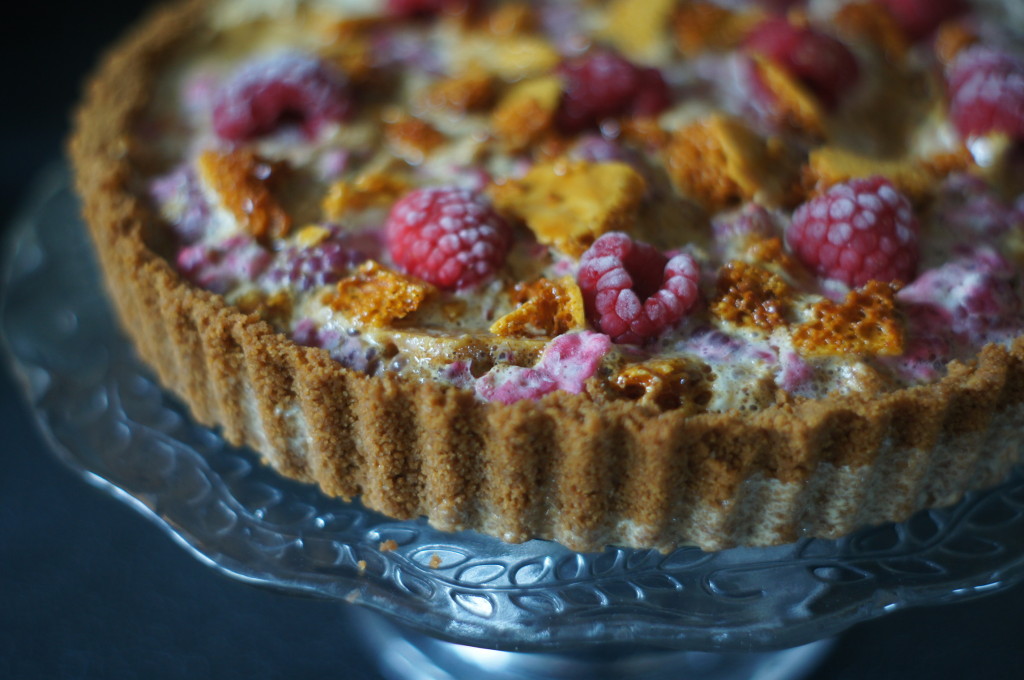
I saw this recipe in this month’s BBC Good Food magazine and thought it looked interesting. Today we had some of our good friends round for a barbecue and decided this would make a good dessert. Unfortunately, the weather decided it was not going to agree and we had to make a mad dash inside when it started raining. This was a shame as this dessert would be much more suited to warm, sunny, al fresco dining rather than sitting in a lounge with the rain beating at the windows!
To be honest I’m not sure I’d make this again – it just wasn’t my cup of tea. The honeycomb seemed to dissolve and I’m not sure I like the texture of whole frozen raspberries. It does take a little time to prepare if you are going to make your own honeycomb but the best thing about this recipe is that it doesn’t require any baking – just assembling. You will need a deep 22cm fluted tart tin (I used a 23cm which worked just as well). If you’re going to make your own honeycomb, read my top tips in my Honeycomb Crunchies post. You will be left with some honeycomb if making your own and honeycomb crunchies would be the perfect way to use up any leftovers. Alternatively you could make your own Crunchies! The caramel sauce is optional but makes a nice contrast to the cold pie.
Ingredients:
250g pack caramel biscuits (I used Lotus which are available at Tescos)
85g butter (melted)
500ml tub vanilla ice cream
400g raspberries
140g honeycomb (see below)
Honeycomb
Makes about 250g
200g golden caster sugar
5 tablespoons golden syrup
2 teaspoons bicarbonate soda
Caramel sauce
150ml double cream
100g muscavado sugar
75g butter
Method:
1) Begin by making your honeycomb if making your own. Line a large baking tray with silicone baking paper (alternatively use an empty cereal packet if you have one spare as explained in this post). Mix the golden caster sugar and golden syrup in a wide saucepan.
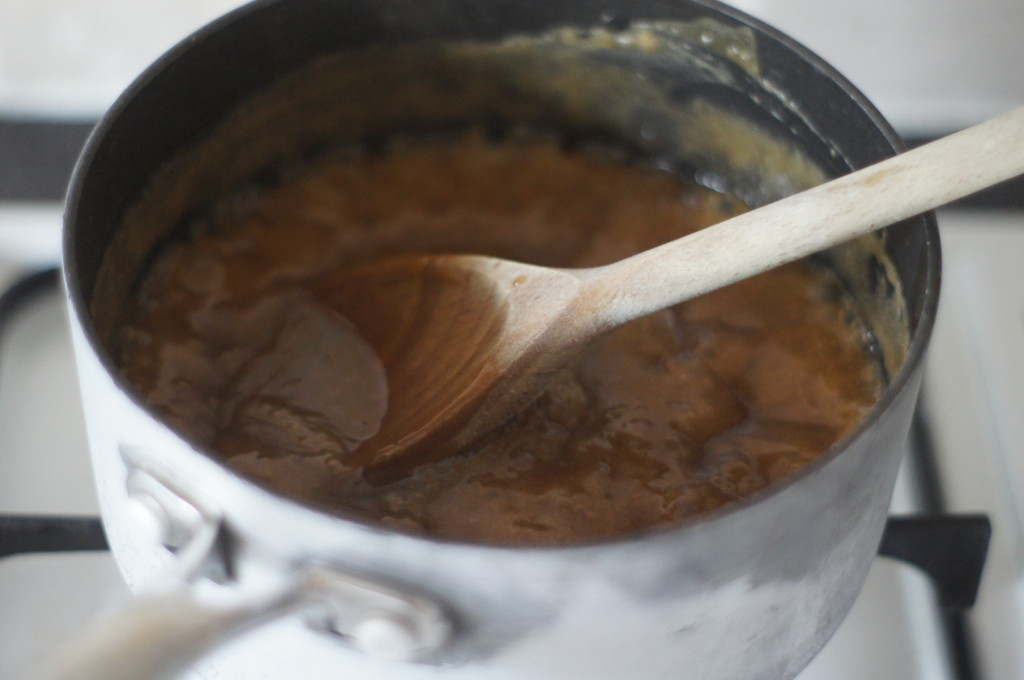
2) Place over a medium heat and leave until dissolved and bubbling. Turn up the heat and bubble for a few more minutes until a rich toffee-brown colour. (If you have a sugar thermometer you are looking for it to reach 145 degrees Celsius).
3) Add the bicarbonate of soda and quickly whisk together (be careful as it will bubble up and be very hot). Pour onto your prepared baking tray (or box) – don’t be tempted to spread it out as this will knock the air out of it. Leave it to cool for 30 minutes until firm.
4) Put the caramel biscuits in a food processor and blitz to crumbs. Add the melted butter and blitz again until well combined.
5) Use the biscuit crumbs to line a deep 22cm (or 23cm) fluted tart tin, pressing the crumbs into the base and up the sides with a back of a spoon until really compact. Chill for 30 minutes while you prepare the filling.
6) Remove the ice cream from the freezer 20 minutes before you’re ready to use it. Tip the raspberries into a bowl, reserving a handful, and lightly crush about half with the back of a fork until juicy. Once the ice cream has softened, tip into another bowl and mask with the back of a spoon until pliable (but not totally defrosted – I think I might have let mine become a bit too pliable!) Add the raspberries and half the honeycomb and then ripple together.
7) Remove the tart case from the fridge and tip the raspberry ice cream mixture into the centre, smoothing out the edges. Top with the reserved raspberries and honeycomb, pushing them down into the ice cream layer a little, then freeze for at least 4 hours until frozen solid.
8) To make a caramel sauce, put the cream, sugar and butter in a saucepan with a good pinch of salt, and bring to a simmer. Bubble for 5 minutes until it’s the consistency of caramel, then cool for 2 minutes before serving with slices of the pie.
Enjoy!


The honeycomb was sweet n tasty and contrasted with the tarter raspberries; finished beautifully with a delicious caramel sauce.